Ever since I was a child, I remember my mother making the most amazing cheese danish. My grandmother made them as well, but the recipe didn’t start there. It started back in Vysoka, Czechoslovakia in a small house where my Great-Grandmother used to make it for my grandfather and his brother.
Now I not only bake them myself, but I have also taught our children how to bake them. I love the idea that they are now doing what generations have done before them. It’s this type of tradition that I hope will live on with them. I hope they continue to make the danish when they have their own children and I hope they share the same stories. So much gets lost these days, that it’s truly important to maintain whatever traditions we had in our family and Slovakian Christmas Cheese Danish is one of them.

What is a Slovakian Christmas Danish?
A Slovakian Christmas Danish is made with a cheese filling and homemade puff pastry. The filling is cream cheese that is flavored with lemon and sugar. The danish is rolled, filled, shaped, allowed to rise, and then baked. Your house will smell heavenly while the danish bake in the oven!
Why are they a joyful treat for the holiday season?
Slovakian Christmas Danish are a joyful treat for the holiday season because they are so delicious! They are perfect for any holiday party or gathering. The cheese filling is rich and creamy, and the dough is fluffy. The danish are also very pretty!
How to make Slovakian Christmas Danish
Basic Danish Pastry Dough:
3 envelopes active dry yeast or 3 cakes compressed yeast
1/2 cup very warm water
3/4 cup milk
1 egg
1/3 cup sugar
1 teaspoon salt
4 cups sifted flour
3/4 pound (3 sticks) very cold butter
Cheese Filling
2 packages of Philadelphia Cream Cheese (in the box)
Real Lemon flavoring (in the lemon container or bottle)
White Sugar
OPTIONAL FILLING:
Prune Filling (my dad’s favorite)
1 jar of Simon Fischer Lekvar Prune Filling (usually found in the aisle with jams and jellies.)
NOW TO MAKE THE DANISH!
1. Sprinkle or crumble yeast into very warm water in a large bowl. (comfortably warm when dripped on the wrist) Stir until yeast dissolves, then stir in milk, egg, sugar, and salt.
2. Stir in 3 1/4 cups of flour, beating as you add, to make a soft dough. (set remaining 3/4 cup flour aside for the next step) Beat dough vigorously for about 2 minutes, or 300 strokes, or until shiny and elastic.
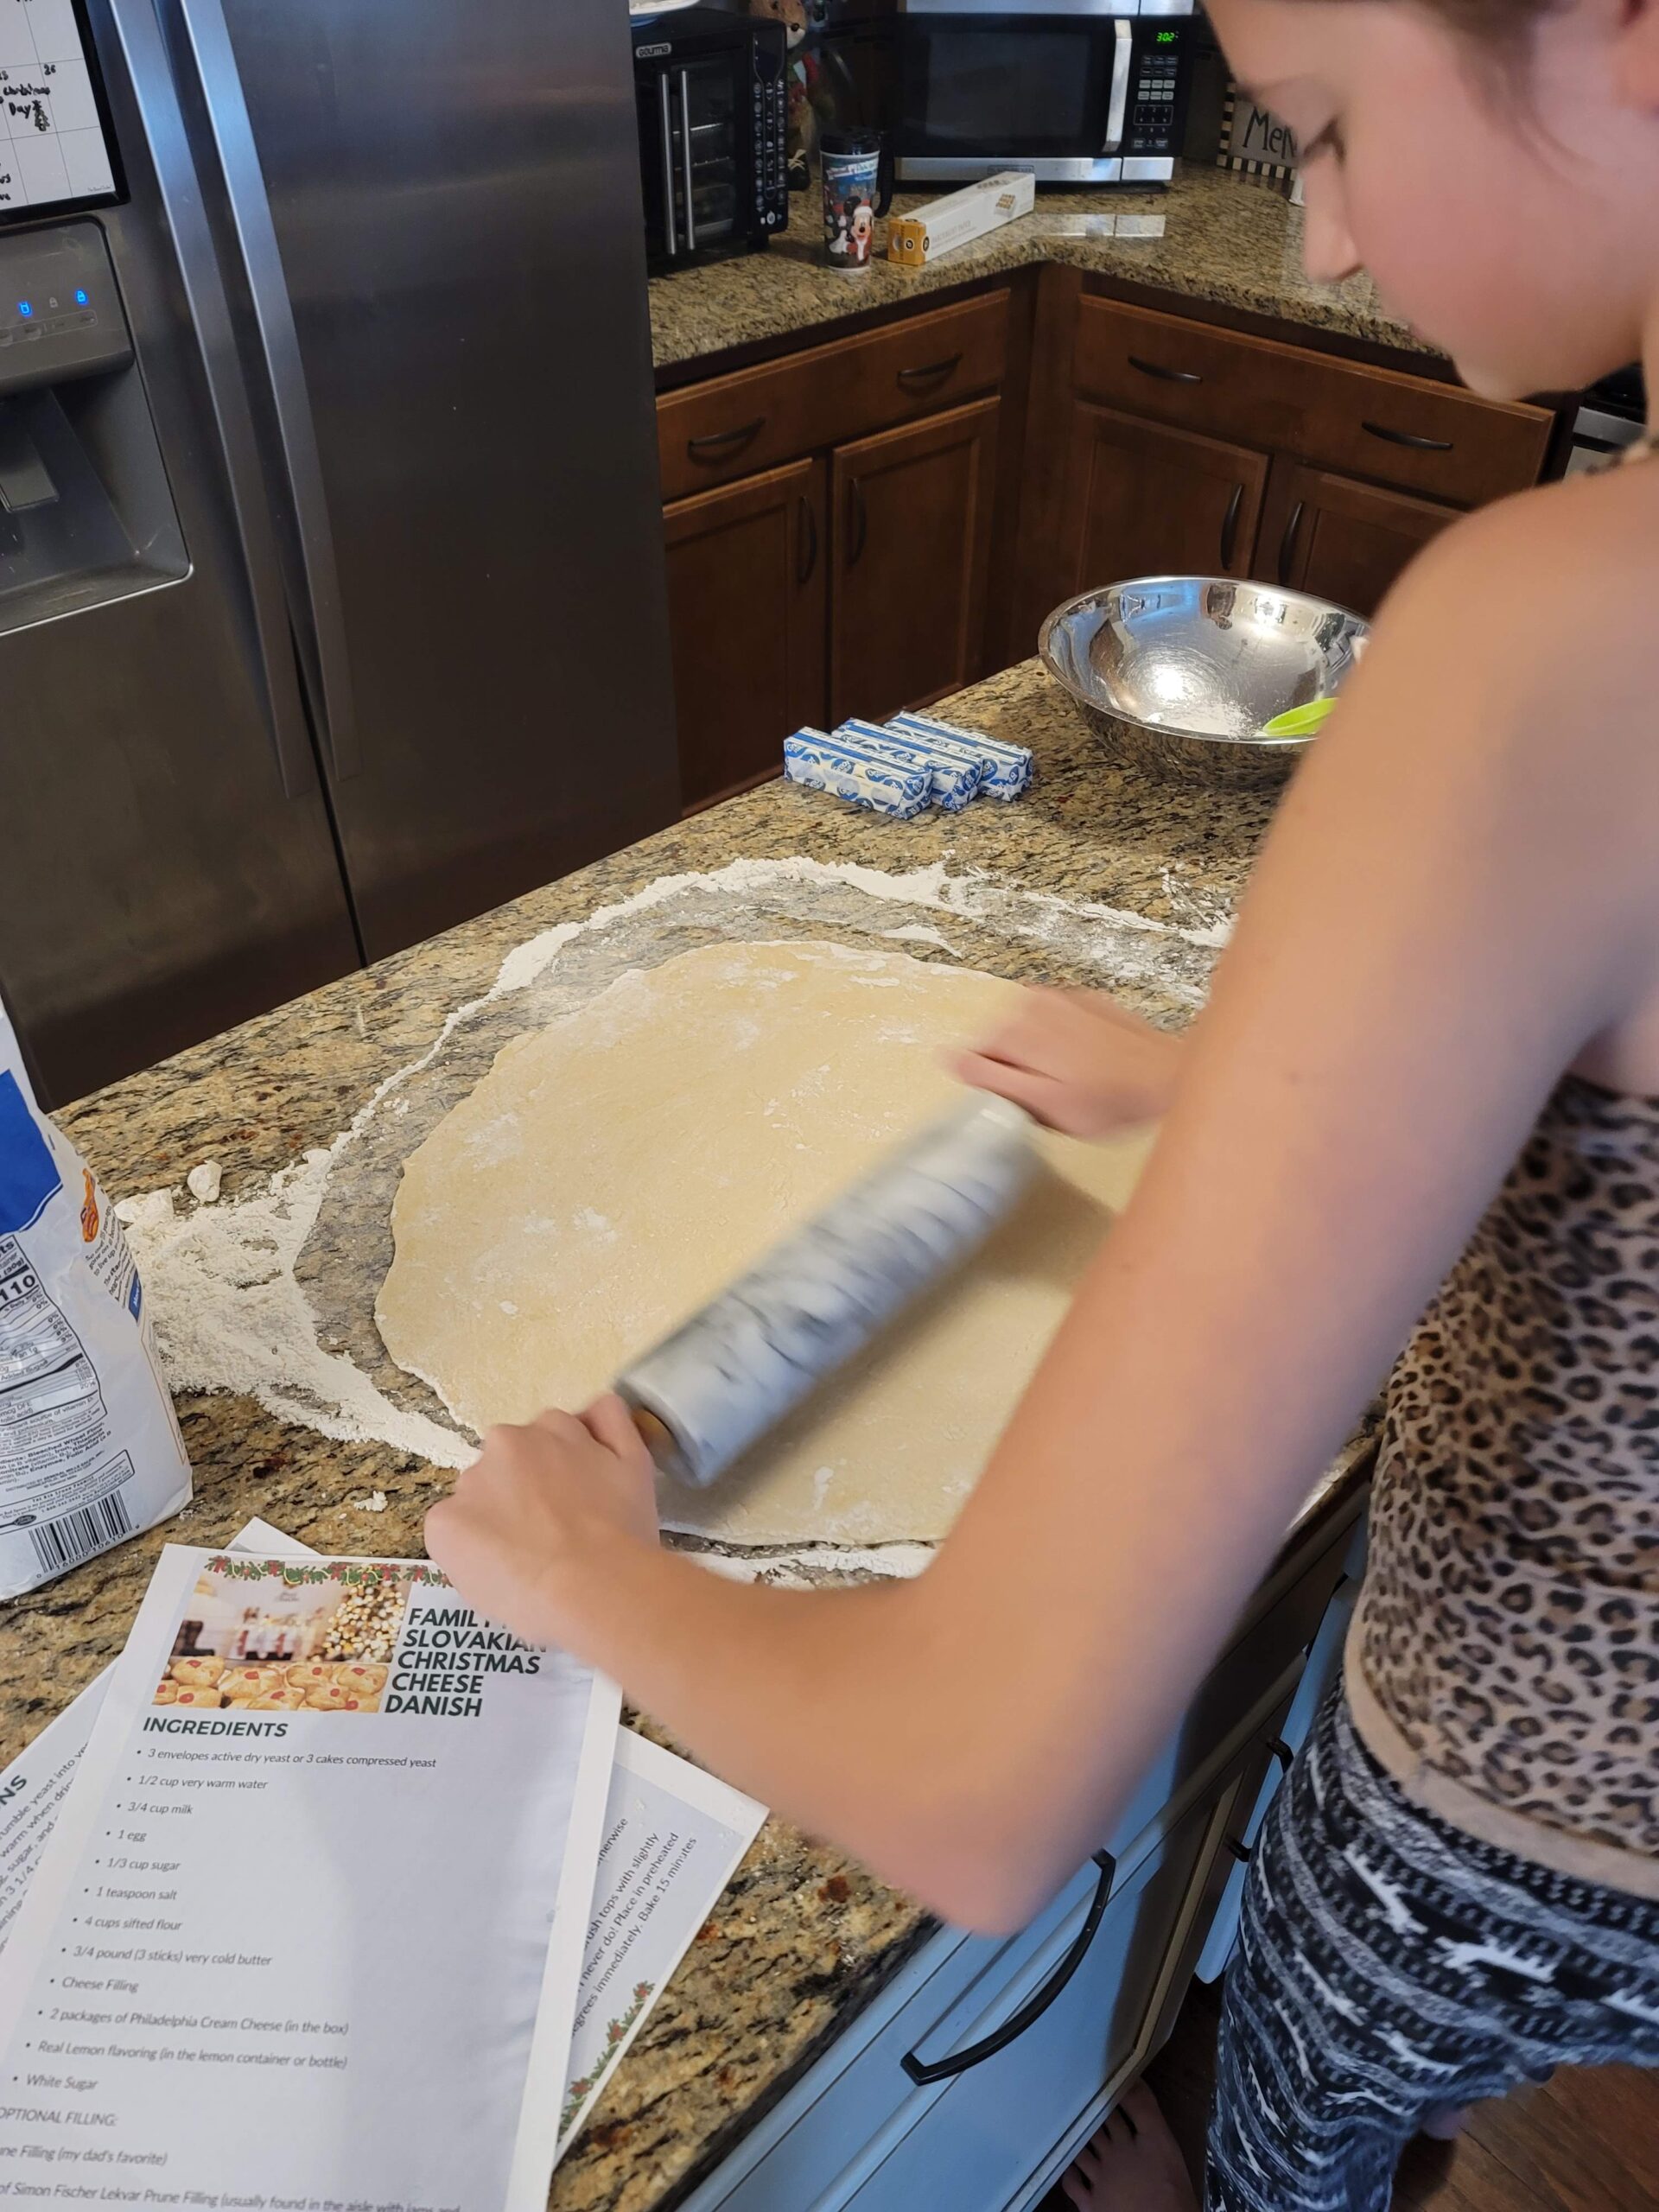
3. Sprinkle the board, table, or counter with 2/3 of the remaining flour. Turn out the dough, form it into a flat ball, and sprinkle it with the remaining flour. Roll out to a rectangle approximately 12″ x 18″.
4. Slice VERY COLD BUTTER into thin strips lengthwise, and place over 2/3 of the dough to form a 12″ square. If your house is too warm, this will make the process more challenging as it will cause the butter to soften.
5 Fold dough, brushing off excess flour each time this way. Fold unbuttered 1/3 over middle 1/3. then opposite and over top. Now fold into thirds crosswise to make a block, 6 x 4. It will be 9 layers deep. Repeat rolling and folding as above 3 more times while rolling. If the dough becomes too soft, put it in the refrigerator for 10-15 minutes, otherwise, there is no need to chill. If butter oozes out while rolling and folding, ease it back in and spot the area lightly with flour. Sometimes it’s necessary to use a little more flour while rolling out than the recipe calls for. That’s a judgment call. Try to keep the dough as soft as possible and yet workable. When you’re finished with the rolling and folding, the dough is ready to shape, fill and bake!
6. Place cream cheese in a bowl and mash until softened. Add a few drops of lemon and a little bit of sugar at a time. You want the flavor to be slightly tart and sweet, but not too much. Again, this is a preference!
Roll out the dough. If your work area is small, cut the dough in half and pinch-cut the top edges (top to bottom) together. Work 1/2 dough at a time. Roll out so that dough is thinner, about 24″ x 24″. Cut into squares with a knife. Fill as desired with about a teaspoon of filling.
7. For the prune or fruit filling, take one corner to the middle, the opposite corner over the middle and tuck under to hold.
8. For the cream cheese, Make a pillow. All four corners to the middle one at a time and then pinch the last two together to hold them. If you want, you can cut up a maraschino cherry and place a piece in the center.
9. Place on trays for baking. (Parchment is highly recommended, otherwise grease the pans!)
10. Cover and let rise until double in size or 1 hour. Brush tops with slightly beaten egg; can sprinkle sugar on top-although I never do! Place in preheated 375-400 degrees and lower heat to 375 degrees immediately. Bake for 15 minutes or until golden brown.
Enjoy them! I’d love to know if you tried to make them and whether you were able to resist eating them only after they cooled! Join me over on my Facebook page to let me know!
Grab the printable recipe here!
